Protecting AWS resources with MDC
Step 2 - Connecting an AWS project
NOTE
Make sure that you have already deployed resources as outlined in "Step 1 - Deploying AWS Resources" in AWS account before proceeding to this step
Objectives
This exercise guides you on how to connect and protect AWS projects using Defender for Cloud.
Exercise 1: Login to your AWS account
First you need to login to your AWS account and note the Account ID.
- Navigate to AWS Console
- Provide the Account ID, username, and password
- Click Sign In
- Ensure that the Cloud Formation stack is fully deployed
Exercise 2: Create an AWS connector for the new AWS account in Microsoft Defender for Cloud
- Sign in to the Azure portal.
- Navigate to Defender for Cloud, then go to Environment settings.
- Select Add environment, then choose Amazon Web Services.
- Connecting an AWS account to an Azure subscription.
- Enter the details of the AWS account, including the location where you'll store the connector resource. Select the Single account option.
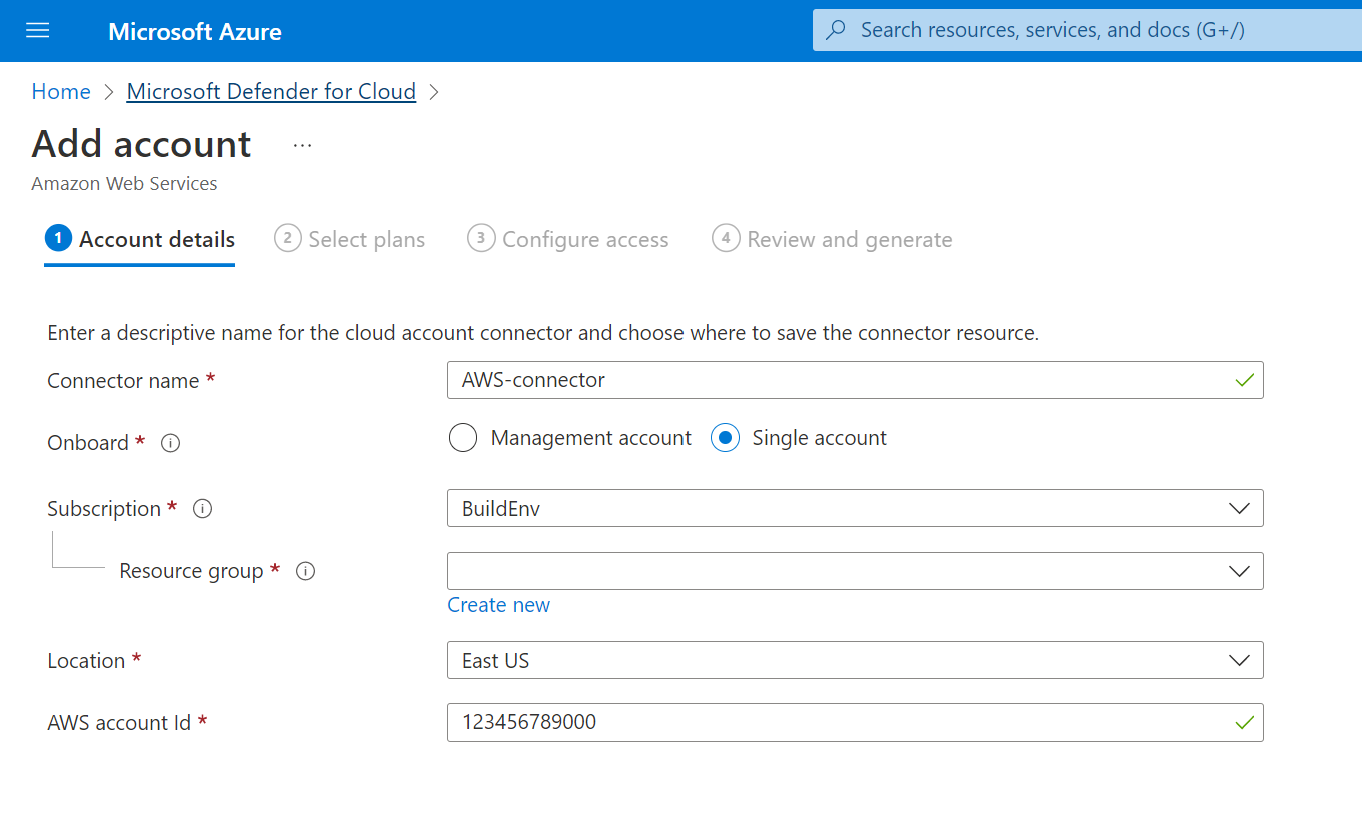
- Select Next: Select plans.
The Foundational CSPM plan is enabled by default.
- Ensure that the Defender CSPM, Servers, Containers and Database plans are set to On.
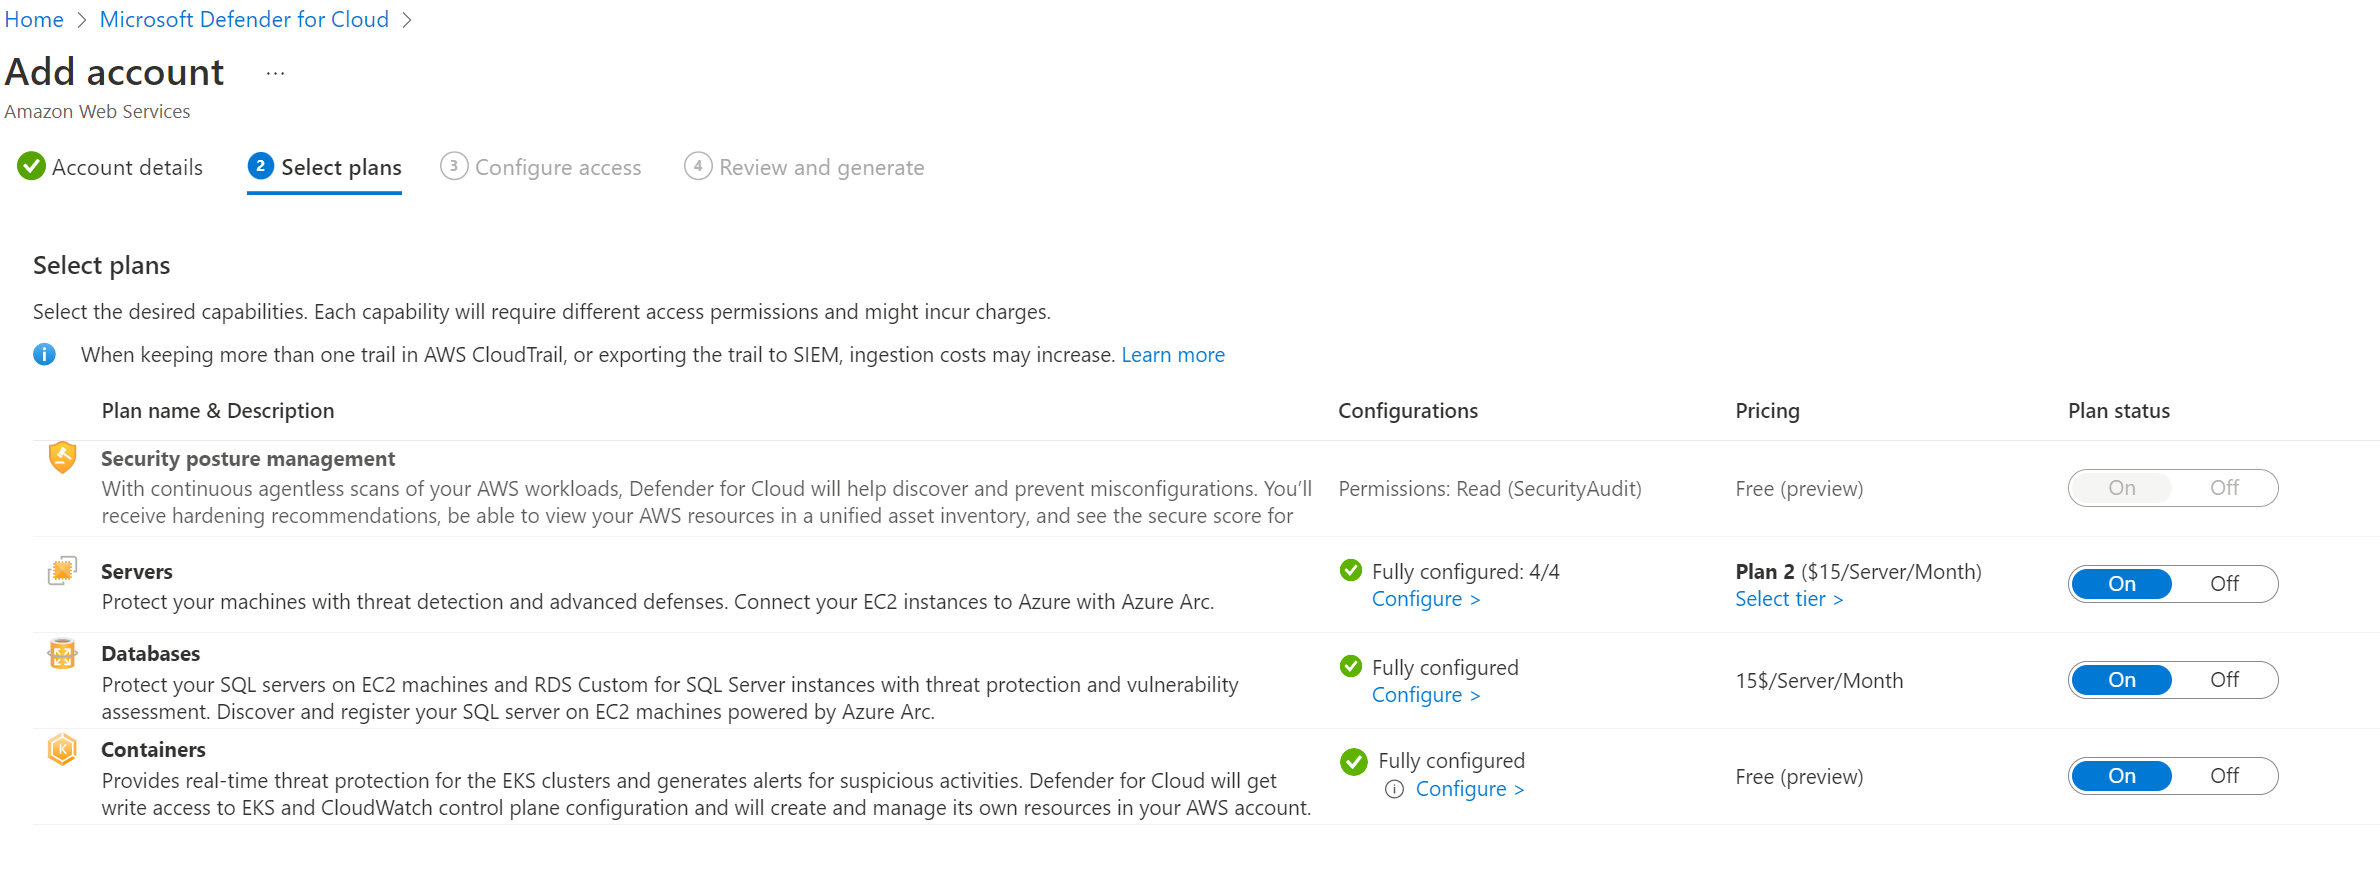
- Select Configure on each of the plans, to enable all the necessary configurations.
- Select Next: Configure access.
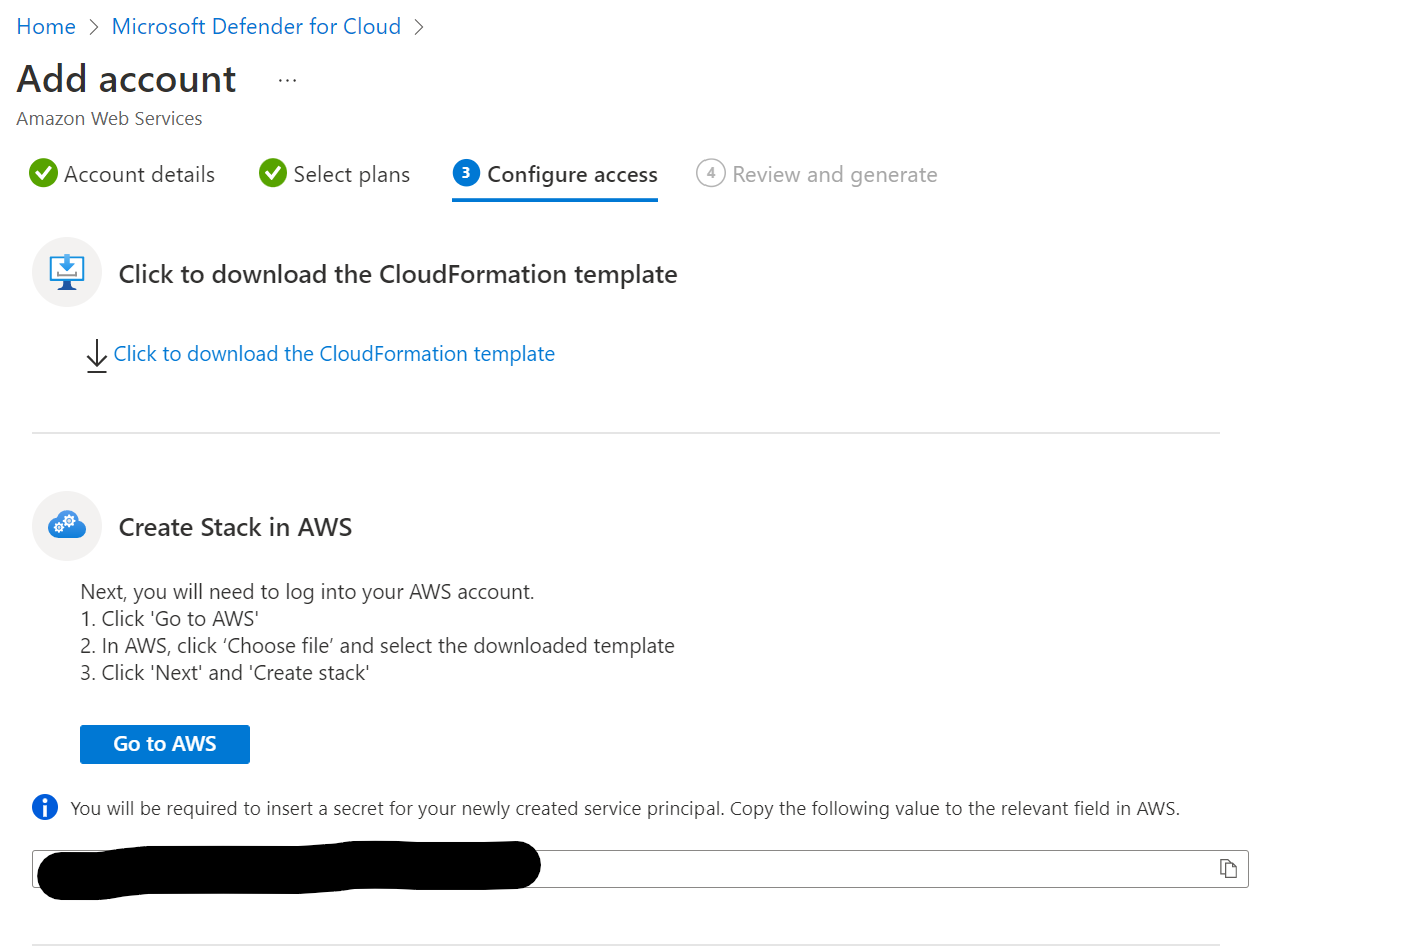
- Click Download the CloudFormation template.
- After the CloudFormation template has been downloaded, you can proceed with creating a stack in AWS.
- Login to your AWS account at AWS portal .
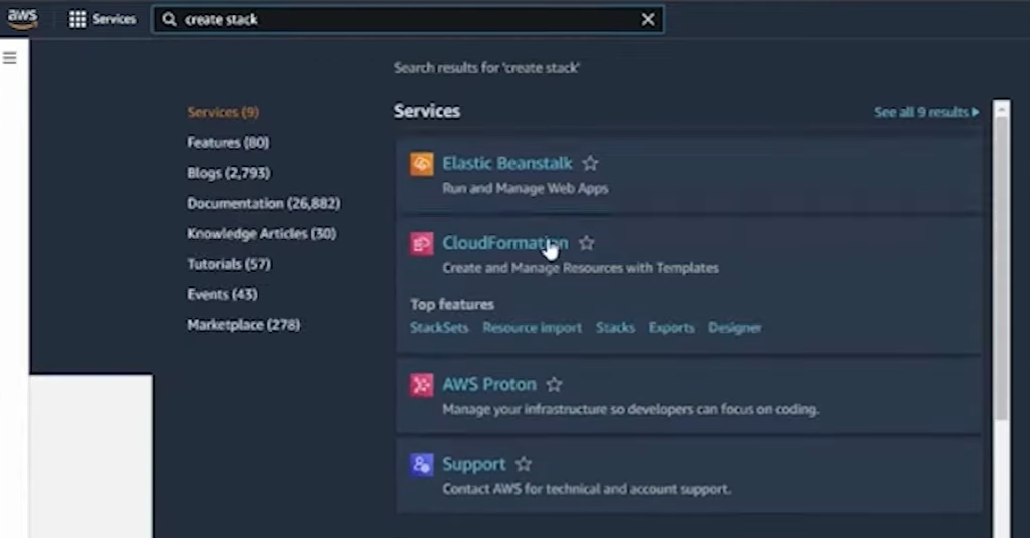
- Search for create stack and select cloud formation.
- Select template is ready
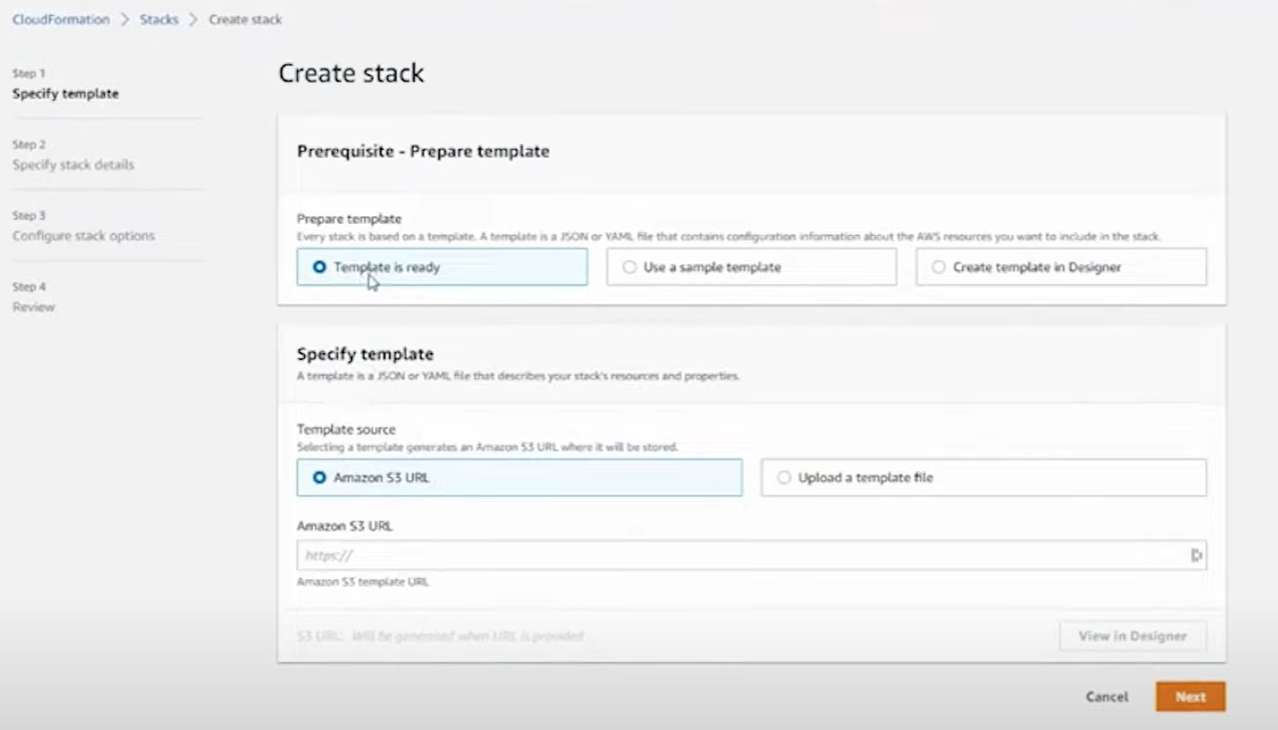
- Click upload a template and choose file. Here, input the downloaded CloudFormation template.
- Then give the stack a name.
- Leave everything else as default, and click Next.
- On Review check I acknowledge that AWS CloudFormation might create IAM resources with custom names, and click Submit.
- Select Create stack.
- Wait a few minutes for the stack to be successfully created in AWS.
- After the stack has been created, then go back to the other tab with the Azure Portal's Microsoft Defender for Cloud experience.
- In Defender for Cloud, click Next: Review and Generate.
- Select Create.
Now, you have successfully onboarded AWS to Microsoft Defender for Cloud, you'll be able to get AWS recommendations and alerts.
Exercise 3: Investigate the AWS recommendations
NOTE
You will need to create some AWS resources in order to see recommendations for AWS in Microsoft Defender for Cloud.
- Go to Microsoft Defender for Cloud in the Azure Portal.
- Go to the Recommendations tab in Defender for Cloud.
- In the upper taskbar, under Scope, select AWS only.
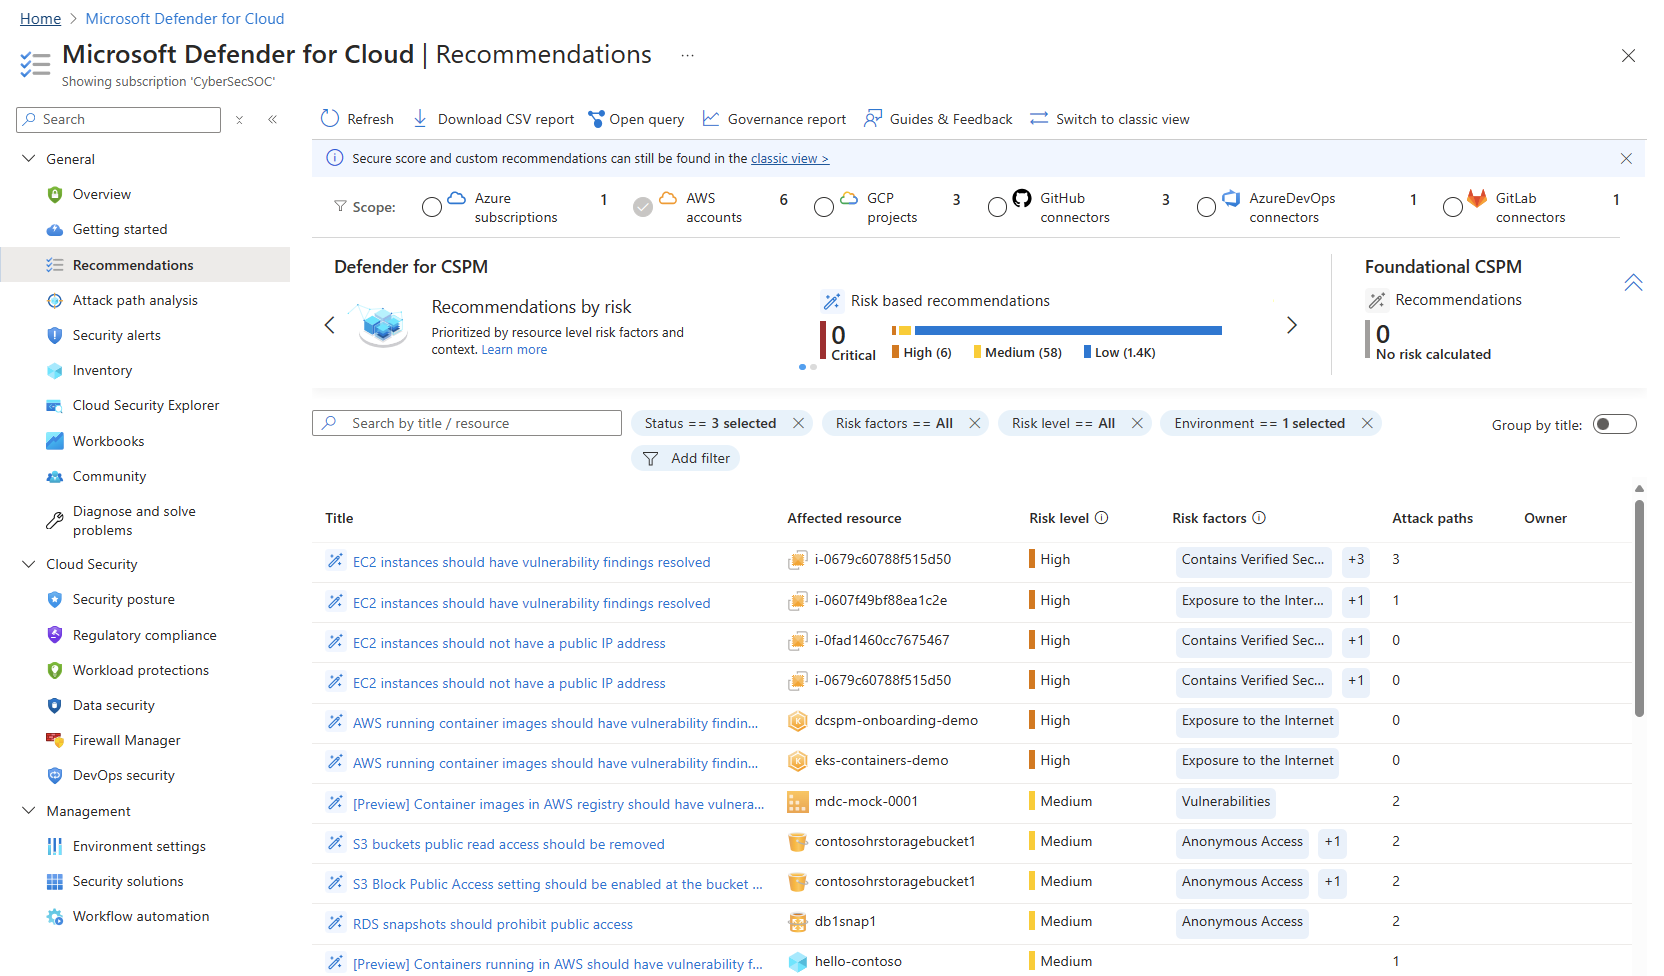
If you have existing AWS resources, then you'll be able to see recommendations associated with them.
Once the resources show up in MDC let's go back to Clean Up section at the bottom of Step 1 and delete the CloudFormation Stack so you don't pay for resources in your AWS! click 👉 here